A Fairly Small Sleeping Beauty Cake
Made Out of Cupcakes
- French Vanilla Cake Mix (a white cake mix will do as well)
- Chocolate Cake Mix
- Eggs (according to cake boxes)
- Water (according to cake boxes)
- A Box of Butter (4 sticks) at room temperature
- Pretzel Rods
- Bag of Mini Marshmallows
- Edible Stars (I used edible snowflakes I had in my cupboard)
- Blue, Red and Yellow food dye
- 2 large bags of Powder Sugar
- Vanilla-optional: I added it to the frosting and icing
Inedible Tools:
- Cupcake pans
- Cupcake paper liners
- Microwaveable bowl for the marshmallow fondant
- Pizza Cutter (to cut the marshmallow fondant)
- Rolling Pin (to roll out the marshmallow fondant)
- Plastic Wrap (to lay on table for rolling out fondant)
- Put parchment paper on 2 plates
- Pink Candles (for decoration)
- 2 Ziplock Baggies or frosting bags- For piping
- Small frosting tip
- Glass for holding frosting bags
- Boxes from the cake mixes
- Box from the butter
- Tinfoil (to cover the boxes)
- A pack of play dough (for structure)
- Got mine from the dollar store
- 2 or 3 Wooden Skewers
Gather your ingredients and tools
- Mix cake batter according to directions on the side of the boxes.
- Note: I used melted butter instead of oil, because I prefer the flavor
- Note: Keep the cake mix and the butter boxes!
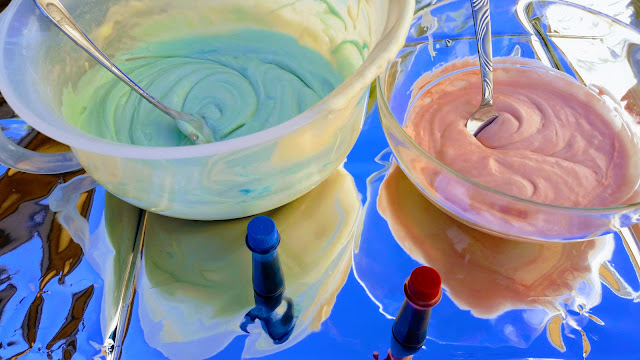
- Half the french vanilla cake batter
- Add 3 drops of blue to one half
- And a drop of red to the other
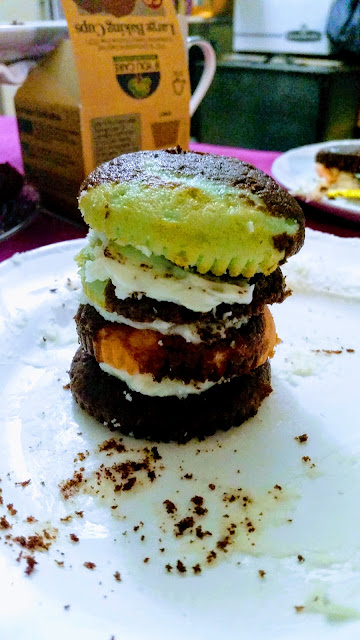
- Partially fill the cupcake pans with pink then the blue batter
- Options here are to stick to pink and blue cupcakes to alternate layers when it's cut open. Or to layer the colors on top of each other so that the cupcakes have both colors
- I added the chocolate on top of all the cupcakes and made the rest of the chocolate ones as well
- Put in the oven according to directions on box
- When you take them out of the oven take them out of the pan to cool
- This prevents the bottoms from becoming soggy
- Make the frosting (for decorating and building)
- Beat together two sticks of butter in a stand mixer (beat until fluffy)
- Add in 3 cups of powder sugar
- I added in 4 from a recipe online and it was way too sweet
- To cut sweetness you can also add a bit of lemon juice or salt
- Icing
- Note: you can make this with powdered egg whites often found in the baking aisle, but my local grocery store didn't have any so...
- 3 large egg whites (beat till frothy)
- Add in 3 cups of powdered sugar
- Add in 3 drops of blue dye
- Check consistency by using a spoon to drip it on a plate held up right
- You want it to drip but not fast
- Add more powdered sugar to make it thicker if needed
- Milk to make it thinner
- Cut the tops off your cupcakes
- Keep the tops
- Make your foundation
- Take 2 playdoughs out of their containers and put 1 in the cake box and the other in the butter box
- Flatten the dough down a little
- Cover both boxes in foil
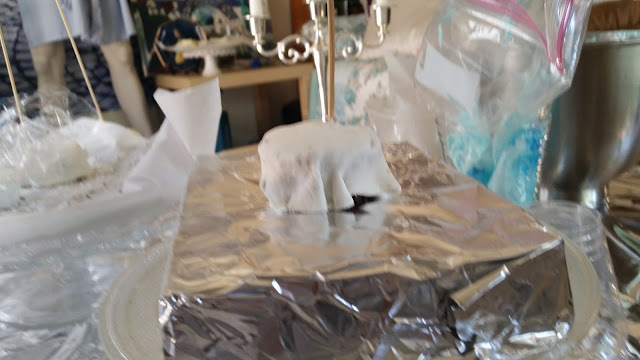
- Put your wooden skewer thought the middle of the cake box into the playdough
- Make your marshmallow fondant in two batches
- First batch
- I laid down some plastic wrap on my table and sprinkled it with powder sugar
- 4 cups of marshmallows
- In a microwavable bowl melt the marshmallows for about a minute
- Stir (melt for 30 or so more seconds if not completely melted yet.
- Stir in 4 cups of powder sugar
- Hand kneed it when it's to hard to stir
- Pro tip: Dust your hands with powdered sugar
- If it's sticky give it more sugar
- Dust your rolling pin with powder sugar
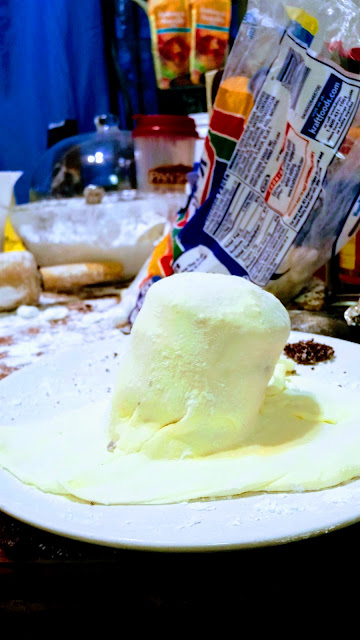
- Roll out the fondant
- If it's sticky use more sugar
- Use a pizza cutter to cut a large circle of fondant
- Drape it over a cupcake bottom
- Cut around with the pizza cutter
- Place on plate with covered in parchment paper
- I had two plates one for pink one for blue so I could alternate the colors while stacking
- Stack your cake tops for the broom
- Use frosting to stick them together
- I did four high at an angle
- Make your second half batch of fondant.
- 2 cups of marshmallows
- 2 cups of powder sugar
- Add yellow dye
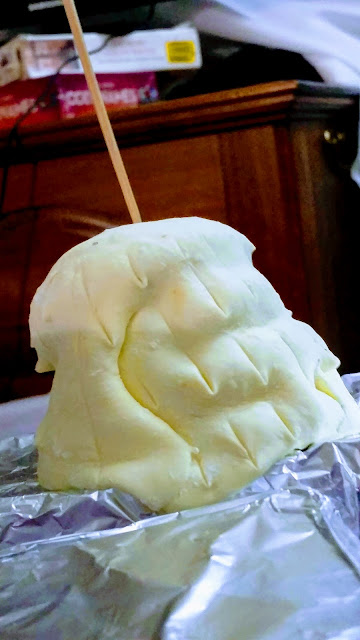
- Cover your stack
- I used the tip of a sharp knife to make lines down the broom
- I fixed it onto my butter box
- I used a skewer cut down to anchor this in place
- Pop it in, mark with pencil pull out, cut put back
- Put the cake box and the butter box on a baking tray if transporting or even moving tables
- Truly best assembled where you are going to serve it
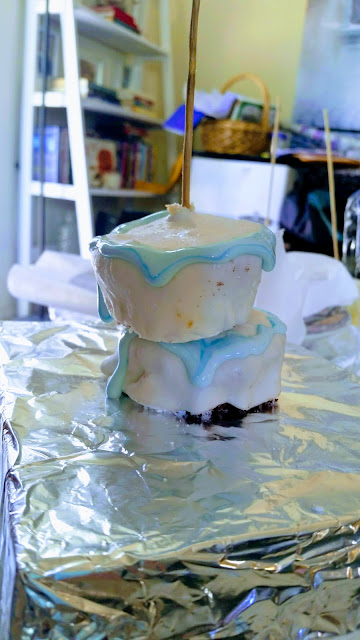
- Stack a fondant covered cupcake on the skewer
- Pipe icing onto the cupcake
- Put a dot of frosting around the skewar for the next layer
- I alernated them between being a little to the left and the one after that a little to the right
- Repeat until the skewer is covered
- Or it's going to fall, lol
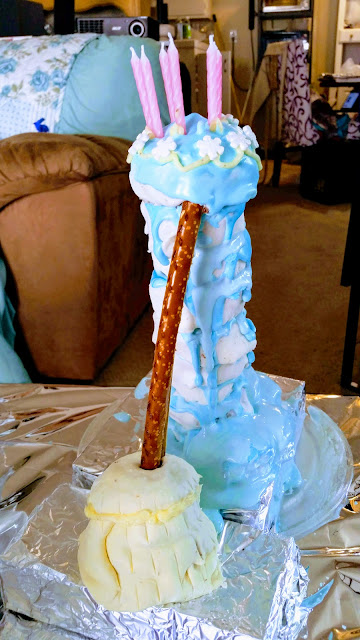
- I ended up anchoring mine at the bottom with extra fondant covered cake, glued down with a little frosting and lots of extra blue icing to cover it
- It may have worked better with two sticks to anchor it from the beginning spaced a bit apart
- As is, I shoved a second stick in after it was built
- Make some of the frosting yellow
- Pipe it in swirls around the top layer of the cake
- Add edible mini stars
- I used snowflakes because they were what I had on hand
- Add pink candles
- Put dots of yellow frosting at the base of the candles
- Made me wish I had the thinner pink candles
- Pipe the detail around the broom
- Add the pretzel handle for the the broom
- And TADA! A cake fit for a sleeping princess
- At least one made by her well meaning fairy godmothers
- Note left over cupcakes and tops can be made into more brooms and supplementary mini cakes for serving to a birthday crowd
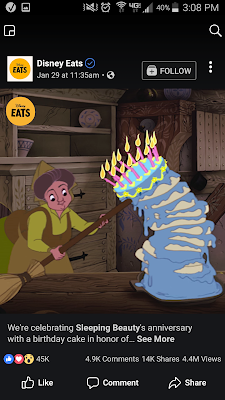
- Note: inspired by Disney Eats and their cake.










Comments
Post a Comment
Your comment will be up shortly.